sambaのインストール
sambaをインストールします。
[root@www ~]# dnf install samba samba-client samba-common -y
sambaの初期設定
sambaの設定ファイルをバックアップ。
[root@www ~]# mv /etc/samba/smb.conf /etc/samba/smb.conf.bk
sambaを設定します。
[root@www ~]# vi /etc/samba/smb.conf
ファイルを作成します。
[global]
workgroup = WORKGROUP
server string = Samba Server %v
netbios name = fedora
security = user
map to guest = bad user
dns proxy = no
ntlm auth = yes
#==========================================================
[Share]
#共有フォルダ
path = /samba/share/
#マイネットワークに表示の有無
browsable = yes
#書き込み許可
writable = yes
#ゲストユーザのログイン許可
guest ok = yes
#読込みの許可
read only = no
#ファイル属性
force create mode = 0777
#ディレクトリ属性
force directory mode = 0777
共有フォルダを作成します。
root@www:~# mkdir /samba
root@www:~# mkdir /samba/share
root@www:~# chown nobody:nobody /samba/share
root@www:~# chmod 0777 /samba/share
自動起動します。
[root@www ~]# systemctl enable --now smb.service
[root@www ~]# systemctl enable --now nmb.service
再起動します。
[root@www ~]# reboot
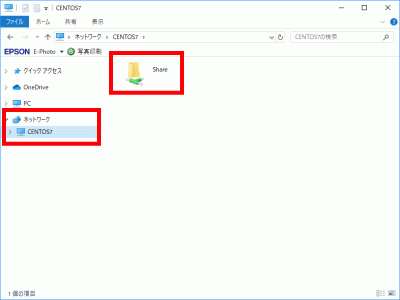
クライアントWindowsPCを再起動し、「ネットワーク」→「linux」→「Share」を開いて書き込みができることを確認します。(「ネットワーク」→「linux」が表示されない場合はディスクトップの任意の場所で右クリックで新規フォルダを作成して、その新規フォルダを右クリックしてショートカットを作成し、そのショートカットを右クリックしてプロパティを開いてリンク先を「\\linux」に変更し接続します。)


コメント