httpdのインストール
httpd をインストールします。
[root@www ~]# dnf -y install httpd
ウェルカムページを削除します。
[root@www ~]# rm -f /etc/httpd/conf.d/welcome.conf
httpd を設定します。
[root@www ~]# vi /etc/httpd/conf/httpd.conf
98行目:行頭の「#」を削除してコメント解除し、サーバー名を指定します。
ServerName centserver.jp:80
154行目:変更します。
AllowOverride All
167行目:ディレクトリ名のみでアクセスできるファイル名を追記します。
DirectoryIndex index.html index.cgi index.php index.rb index.py
319行目:コメントアウトして文字化け対応します。
#AddDefaultCharset UTF-8
ドキュメントルート所有者を編集ユーザー(webmaster)に変更します。
[root@www ~]# chown webmaster. /var/www/html/
ドキュメントルート所有者を確認します。
[root@www ~]# ll /var/www/
合計 0
drwxr-xr-x 2 root root 6 4月 24 22:46 cgi-bin
drwxr-xr-x 2 webmaster webmaster 6 4月 24 22:46 html
URLのwwwを設定します。
[root@www ~]# vi /etc/httpd/conf.d/virtualhost-00-centserver.jp.conf
wwwなしに統一します。
<VirtualHost *:80>
    ServerName centserver.jp
    DocumentRoot /var/www/html
    RewriteEngine On
    RewriteCond %{HTTP_HOST} ^www\.centserver\.jp
    RewriteRule ^(.*)$ http://centserver.jp/$1 [R=301,L]
</VirtualHost>
起動します。
[root@www ~]# systemctl start httpd
自動起動設定します。
[root@www ~]# systemctl enable httpd
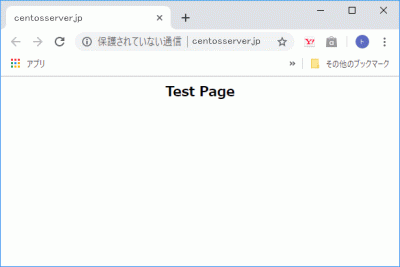
HTMLテストページを作成します。
[root@www ~]# vi /var/www/html/index.html
<html>
<body>
<div style="width: 100%; font-size: 20px; font-weight: bold; text-align: center;">
Test Page
</div>
</body>
</html>
Webブラウザを起動し、「http://centserver.jp」にアクセスし、動作確認をします。
TCP80番ポート開放
ルーターの設定で、TCP80番ポートを開放します。(設定方法はご自身の環境に合わせて調べてください。)
ポート開放テスト
こちらのサイトで「ホスト名(centserver.jp)」、「ポート番号(80)」の開放確認をします。
Perlのインストール
Perl をインストールします。
[root@www ~]# dnf -y install perl perl-CGI
「html」ディレクトリで CGI の実行を許可する設定します。
[root@www ~]# vi /etc/httpd/conf.d/html.conf
拡張子 cgi、pl、rb、py を CGI として設定します。
<Directory "/var/www/html">
    Options +ExecCGI
    AddHandler cgi-script .cgi .pl .rb .py
</Directory>
「/usr/local/bin/perl」で、Perlコマンドへアクセスできるようにします。
[root@www ~]# ln -s /usr/bin/perl /usr/local/bin/perl
Perlのパスを確認します。
[root@www ~]# whereis perl
perl: /usr/bin/perl /usr/local/bin/perl /usr/share/man/man1/perl.1.gz
再起動します。
[root@www ~]# systemctl restart httpd
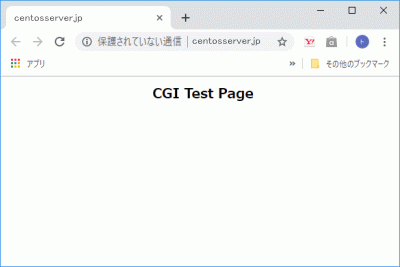
CGIテストページを作成します。
[root@www ~]# vi /var/www/html/index.cgi
#!/usr/bin/perl

print "Content-type: text/html\n\n";
print "<html>\n<body>\n";
print "<div style=\"width: 100%; font-size: 20px; font-weight: bold; text-align: center;\">\n";
print "CGI Test Page";
print "\n</div>\n";
print "</body>\n</html>\n";
パーミッションを設定します。
[root@www ~]# chmod 705 /var/www/html/index.cgi
Webブラウザを起動し、「http://centserver.jp/index.cgi」にアクセスし、動作確認をします。

PHPのインストール
PHP をインストールします。
[root@www ~]# dnf -y install php php-mbstring php-pear
PHP を設定します。
[root@www ~]# vi /etc/php.ini
902行目:行頭の「;」を削除してコメント解除し、自身のタイムゾーンを追記します。
date.timezone = "Asia/Tokyo"
再起動します。
[root@www ~]# systemctl restart httpd
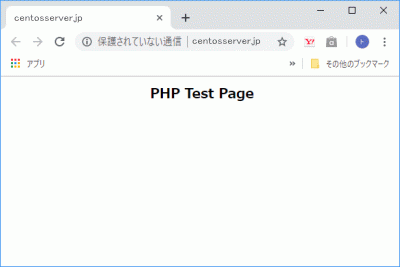
PHPテストページを作成します。
[root@www ~]# vi /var/www/html/index.php
<html>
<body>
<div style="width: 100%; font-size: 20px; font-weight: bold; text-align: center;">
<?php
print "PHP Test Page";
?>
</div>
</body>
</html>
Webブラウザを起動し、「http://centserver.jp/index.php」にアクセスし、動作確認をします。

Rubyのインストール
Ruby をインストールします。
[root@www ~]# dnf -y install ruby
再起動します。
[root@www ~]# systemctl restart httpd
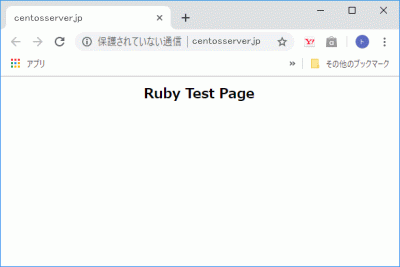
Rubyテストページを作成します。
[root@www ~]# vi /var/www/html/index.rb
#!/usr/bin/ruby

print "Content-type: text/html\n\n";
print "<html>\n<body>\n";
print "<div style=\"width: 100%; font-size: 20px; font-weight: bold; text-align: center;\">\n";
print "Ruby Test Page";
print "\n</div>\n";
print "</body>\n</html>\n";
パーミッションを設定します。
[root@www ~]# chmod 705 /var/www/html/index.rb
Webブラウザを起動し、「http://centserver.jp/index.rb」にアクセスし、動作確認をします。

Perlモジュールのインストール
CPANを起動します。
[root@www ~]# perl -MCPAN -e shell
「y」を入力して「Enter」キー押下します。
Would you like to configure as much as possible automatically? [yes] y
チェックを入れて「OK」をクリックするとインストールログが表示されます。
モジュールをインストールします。
[root@www ~]#
ImageMagikのインストール
ImageMagickをインストールします。
[root@www ~]# dnf -y install ImageMagick
perl ImageMagickをインストールします。
[root@www ~]# dnf -y install ImageMagick-perl
サーバー証明書の取得
Certbotをインストールします。
[root@www ~]# dnf --enablerepo=epel -y install certbot
証明書を取得します。
ドキュメントルート:/var/www/html/
メールアドレス:webmaster@centserver.jp
Webサーバー名:centserver.jp
[root@www ~]# certbot certonly --webroot -w /var/www/html/ -m webmaster@centserver.jp -d centserver.jp --agree-tos
証明書自動更新を設定します。
[root@www ~]# vi /etc/cron.d/letsencrypt
下記を追記します。
00 16 * * 2 root /usr/bin/certbot renew --post-hook "service httpd restart"
SSLの設定
SSLをインストールして、暗号化通信ができるように設定します。
[root@www ~]# dnf install mod_ssl
SSLを設定します。
[root@www ~]# vi /etc/httpd/conf.d/ssl.conf
43行目:行頭の「#」を削除してコメントを解除します。
DocumentRoot "/var/www/html"
59行目:行頭の「#」を削除してコメントを解除し、変更します。
SSLProtocol -All +TLSv1 +TLSv1.1 +TLSv1.2
85行目:取得した証明書を指定します。
SSLCertificateFile /etc/letsencrypt/live/centserver.jp/cert.pem
93行目:取得した鍵ファイルを指定します。
SSLCertificateKeyFile /etc/letsencrypt/live/centserver.jp/privkey.pem
102行目:取得した中間証明書を指定します。
SSLCertificateChainFile /etc/letsencrypt/live/centserver.jp/chain.pem
再起動します。
[root@www ~]# systemctl restart httpd
Free Monitoring Test Toolsで「https://centserver.jp」の作動確認をします。


コメント