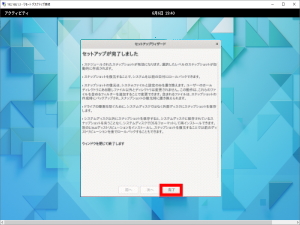
s50
バックアップ領域の作成
サーバーの電源を切ってHDD(メインHDDより容量の大きいもの)を追加しておきます。
Windows のリモートデスクトップ機能でサーバーに接続します。
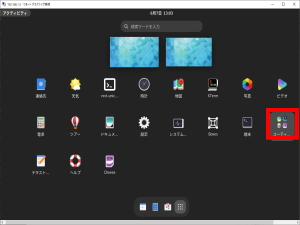
s51「アクティビティ」→「アプリケーションを表示する」を選択します。

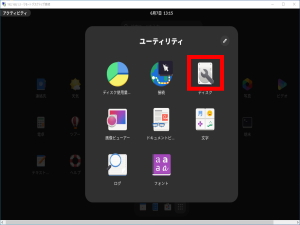
s52「ユーティリティ」を選択します。
s53「ディスク」を選択します。
s54「バックアップ用HDD」→「+」を選択します。
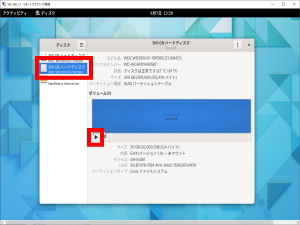
s55→「サイズを設定」→「名前を設定」→「作成」で初期バックアップ用、システムバックアップ用のパーティションを作成します。
初期バックアップ用:55_1Defalt HDD Backup 20Gb
システムバックアップ用:55_2Sestem Backup
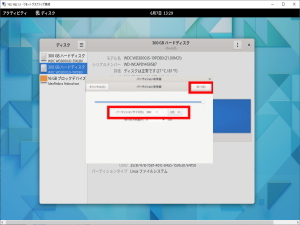
s56「▶」をクリックしてマウントします。

s57
自動バックアップの設定.
アップデートします。
root@www:~# 57_1dnf update
s58timeshiftをインストールします。
root@www:~# 58_1dnf -y install timeshift
s59独自翻訳した日本語化ファイルを用意いたしました。
日本語化ファイルをダウンロードし、解凍します。
日本語化ファイル:timeshift.zip
s60解凍したファイルをsambaのフォルダにコピーします。
解凍したファイル:timeshift.mo
s61Windows のリモートデスクトップ機能でサーバーに接続します。
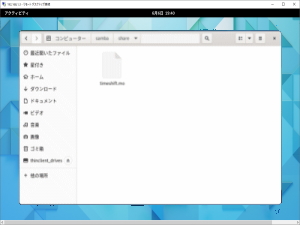
s62ファイルをコピーします。
「アクティビティ」→「ファイル」→「samba/share/timeshift.mo」
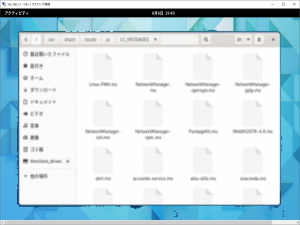
s63ファイルを貼付けます。
「アクティビティ」→「ファイル」→「usr/share/locale/ja/LC_MESSAGES」
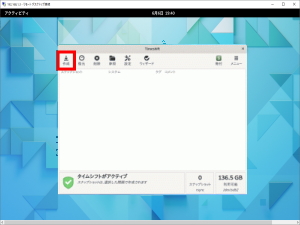
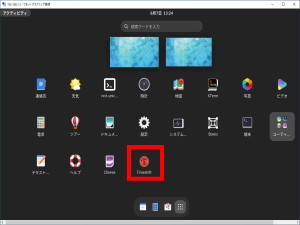
s64「アクティビティ」→「Timeshift」を選択します。
s65「RSYNC」を選択し、「次」をクリックします。

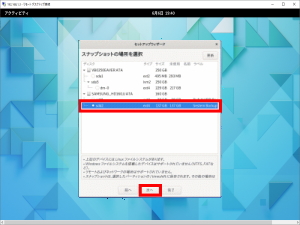
s66「Sestem Backup」を選択し、「次」をクリックします。
s67「毎日」を選択し、「次」をクリックします。
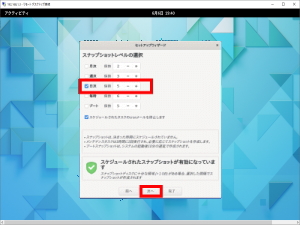
s68「次」をクリックします。
s69「完了」をクリックします。
s70「設定」をクリックします。

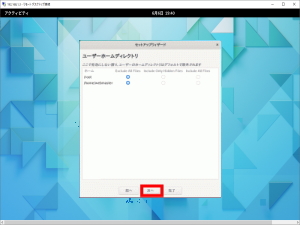
s71「ユーザー」をクリックし、「すべてを含める」を選択し「OK」をクリックします。

s72「作成」をクリックしスナップショットを作成します。