デスクトップ環境インストール
デスクトップ環境をインストールします。
[root@www ~]# dnf -y group install "Basic Desktop" GNOME
ログイン設定をします。
[root@www ~]# systemctl set-default graphical.target
[root@www ~]# systemctl set-default
[root@www ~]# ll /etc/systemd/system/default.target
デスクトップを起動します。
[root@www ~]# startx
再起動します。
[root@www ~]# reboot

注意:VNCサーバーかXrdpサーバーのどちらか一つをインストールしてください。両方インストールすると表示できない場合があります。おすすめはXrdpサーバーです。
VNCサーバーの設定
VNCサーバーをインストールします。
root@www:~# dnf -y install tigervnc-server
VNC 接続を設定したいユーザーでログインし、VNC サーバーでパスワード(英数字8桁以内)を設定します。
root@www:~# vncpasswd
Password:
Verify:
Would you like to enter a view-only password (y/n)? n
VNC サーバー設定ファイルを作成します。
root@www:~# vi ~/.vnc/config
session=gnome
securitytypes=vncauth,tlsvnc
geometry=800x600
root権限でVNC サーバーを利用できるようにします。
root@www:~# vi /etc/tigervnc/vncserver.users
# TigerVNC User assignment
#
# This file assigns users to specific VNC display numbers.
# The syntax is <display>=<username>. E.g.:
#
# :2=andrew
# :3=lisa
:1=root
:2=webmaster
VNC サーバーを起動します。
root@www:~# systemctl enable --now vncserver@:1 vncserver@:2
再起動します。
root@www:~# reboot
クライアントPCにUltraVNCのUltraVNC_1_2_40_X64_Setup.exeをダウンロードします。(ページの下部にダウンロードリンクがあります。)
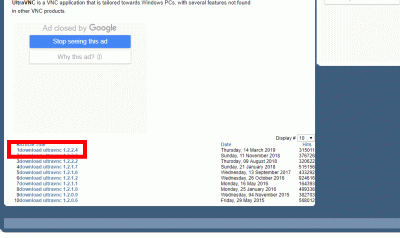
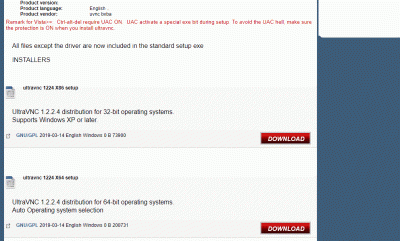
23bit、64bitを選択して「DOWNLOAD」をクリックします。
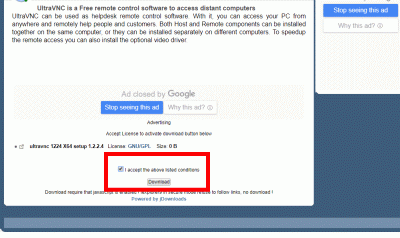
「I accept the above listed conditions」を選択して「Download」をクリックします。
ダウンロードした「UltraVNC_***_Setup.exe」のアイコンをWクリックしてインストールします。

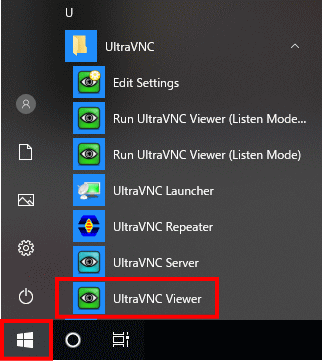
「Windowsスタートメニュー」をクリックし、「UltraVNC Viewer」を起動します。
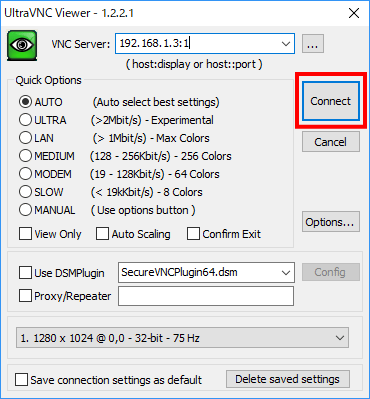
先に起動したVNCサーバーのIPアドレス:ディスプレイ番号を入力をして「Connect」をクリックします。
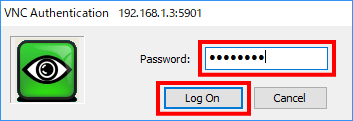
VNCパスワードを入力し「Log on」をクリックします。
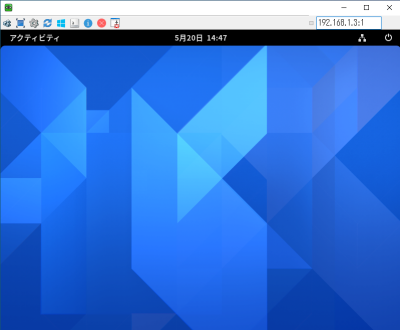
ディスクトップが表示されます。
Xrdpサーバーの設定
Windows のリモートデスクトップ機能で接続できるようにXrdpサーバーをインストールして設定します。
[root@www ~]# dnf -y install xrdp tigervnc-server
自動起動を設定します。
[root@www ~]# systemctl enable --now xrdp
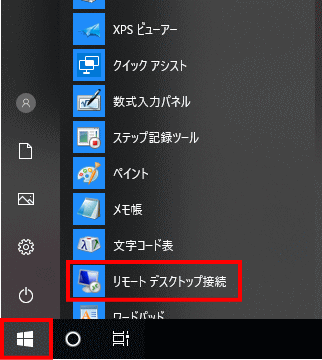
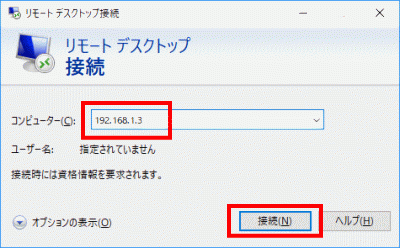
Windows スタートメニューから「アクセサリ」→「リモートデスクトップ接続」 を選択して接続画面を起動します。
サーバーIPアドレスを入力し「接続」をクリックします。
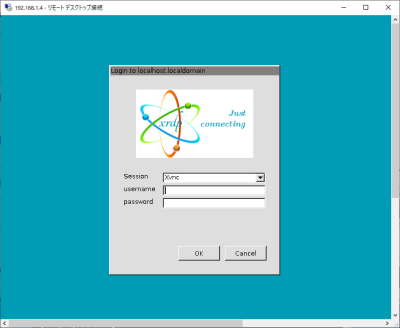
「usermame」(ユーザー名)、「password」(パスワード)を入力し「OK」をクリックします。
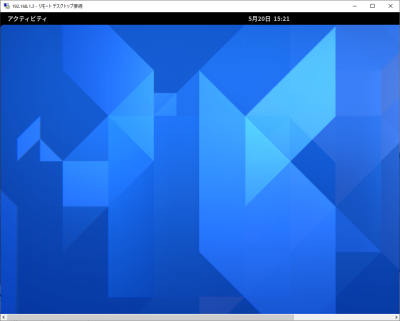
ディスクトップが表示されます。
日本語環境の設定
日本語環境のパッケージをインストールします。
[root@www ~]# dnf -y install ibus-kkc vlgothic-*
システムの文字セットを設定します。
[root@www ~]# localectl set-locale LANG=ja_JP.UTF-8
[root@www ~]# source /etc/locale.conf
設定を確認します。
[root@www ~]# echo $LANG
ja_JP.UTF-8


コメント